Introduction
1. Introduction
The aim of this part is to familiarise you with the different microservices in the Crazy Train application. You will modify the code of several Quarkus, Python and Nodejs projects, understand how they interact and test the application as a whole.
The image below describes the overall operation
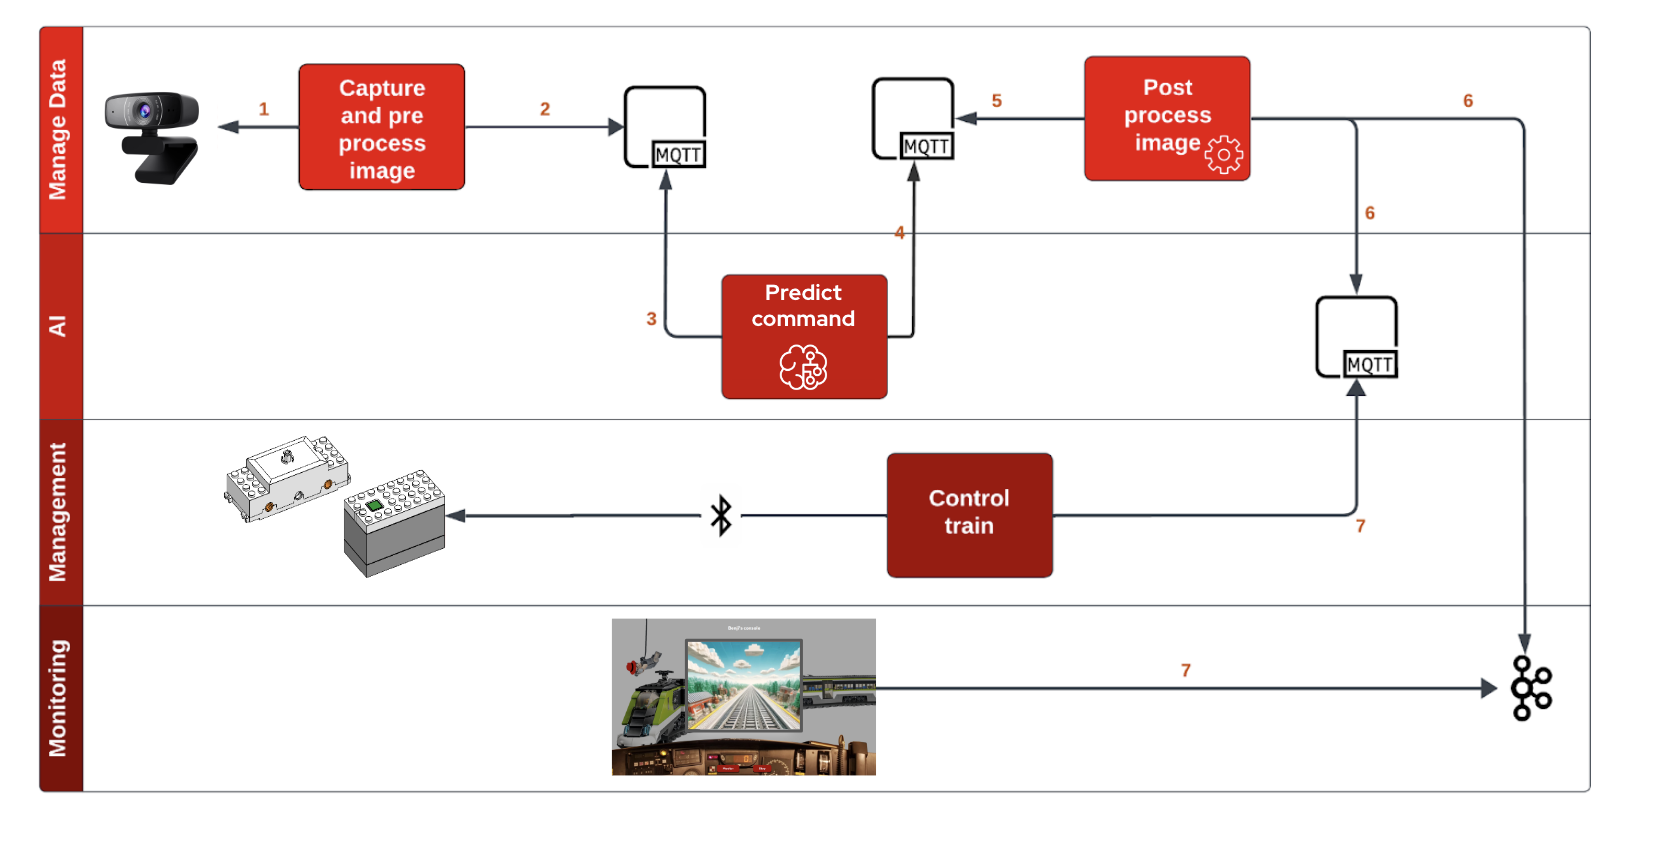
Below is a description of each service:
Capture and process image (project capture-app): This is a Quarkus service that allows you to start, test and stop video capture. It exposes RESTful endpoints that can be called by other services or clients to control video capture.
Predict command (project intelligent-train): This service is responsible for analysing the data from the captured video. It uses machine learning techniques to interpret the video data and provide information based on this analysis.
Post process image (project train-ceq-app): is an event management service that receives information from Intelligent Train and other services, and triggers appropriate actions. For example, if the Intelligent Train detects an obstacle on the track, the service triggers an event to stop the train.
Control Train (project train-controler): As its name suggests, this service is responsible for controlling the train itself. It would receive commands from services such as train-ceq and perform actions on the train, such as starting, stopping, changing speed, etc.
Monitoring (project monitoring-app): This service is responsible for monitoring the entire system. It would collect data from all the other services, such as events triggered, actions performed, train status, etc., and provide an overview of the state of the system. It could also provide alerts or notifications in the event of problems being detected.
Each service is independent and communicates with the others asynchronously (MQTT/Kafka). This allows great flexibility and scalability, as each service can be developed, deployed and scaled independently of the others.
2. Your lab environment
You are going to use OpenShift Dev Spaces. OpenShift Dev Spaces uses Kubernetes and containers to provide a consistent, secure, and zero-configuration development environment, accessible from a browser window.
Use the following link to generate your Openshift Dev Space environment :

Login in with your OpenShift credentials (userX/yourpassword). If this is the first time you access Dev Spaces, you have to authorize Dev Spaces to access your account. In the Authorize Access window click on Allow selected permissions.
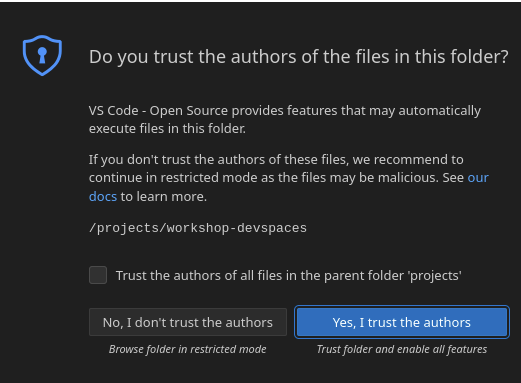
This opens the workspace, which will look pretty familiar if you are used to work with VS Code. Before opening the workspace, a pop-up might appear asking if you trust the contents of the workspace. Click Yes, I trust the authors to continue.
Wait for the workspace to become available, which takes a few minutes to sets up a complex development environment with several services (Kafka, Zookeeper, Mosquitto) and tools (OpenShift CLI, Maven, Python, Node.js), and ensures that all the necessary dependencies are installed (like OpenCV).
In the project explorer on the left of the workspace, navigate to the rivieradev-app folder and look at the different projects.